
This is a basic guide to useful Microsoft Word features when using OSCOLA referencing, the referencing system used for the UWE LLM course. It is intended to be a basic introduction, with helpful tips and links. It is strongly recommended that you become familiar with OSCOLA as early in the course as possible, as this will save you many hours of frustration when trying to reference.
- OSCOLA Referencing
The first thing to know is that there is no automatic way of inserting OSCOLA referencing. Instead, each time you wish to cite a source, you must put a footnote after the point you wish to make.[1] To do this, simply click on the ‘References’ tab on the top bar, then click ‘Insert Footnote’:
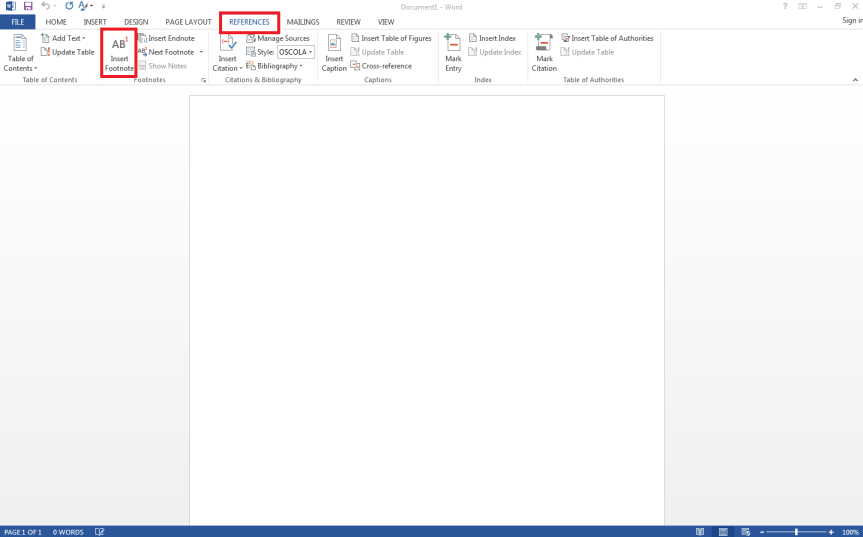
You can then type in any information which you wish to include. In terms of OSCOLA referencing, the best way of finding out how to reference particular sources is to refer directly to the OSCOLA guides. The full guide can be found here.
If you haven’t used OSCOLA before, it is best to familiarise yourself with it by using the full guide to begin with. There are a number of nuances, such as where commas go or if a comma is used, that you will need to be familiar with. If you know OSCOLA fairly well and simply need to refresh your memory for a particular source, there is a quick guide here.
Under the OSCOLA referencing system, the format of a reference is different in the Bibliography from footnotes, therefore make sure you have double-checked your references are correct for both styles. For example, a source in the Bibliography begins [Surname] [Initial] for the author, whereas in a footnote the author is listed as [Full first name] [Surname]:
Elizabeth Fisher, Risk Regulation and Administrative Constitutionalism (Hart Publishing 2007) – footnote
Fisher E, Risk Regulation and Administrative Constitutionalism (Hart Publishing 2007) – Bibliography [2]
Bibliographies take a specific format, that is a table of cases, a table of legislation, then the bibliography. UWE’s example OSCOLA bibliography can be found here. (This is a PDF download, you will find it in your downloads folder after clicking the link)
As with footnotes, there is no automatic way to build a Bibliography in Word. Instead, best practice is to keep a full list of all sources you have used during your research, either in a separate document or at the end of your work, to include as a Bibliography after the main text of your assignment.
- Formatting
Under the OSCOLA referencing system, quotes have to be formatted in a particular manner. If the quote is less than three lines long, ‘[i]ncorporate quotations of up to three lines into the text, within single quotation marks’.[3] Where a quotation is longer than three lines, it must be presented as fully indented:
Present quotations longer than three lines in an indented paragraph, with no further indentation of the first line (examples 3 and 4). Do not use quotation marks, except for single quotation marks around quotations within quotations (example 3). Leave a line space either side of the indented quotation.[4]
The easiest way of ensuring consistency of formatting throughout a document is to create a new “style”. To do this, go to the ‘Home’ tab and under ‘Styles’ sub-tab select the drop down arrow and ‘Create a style’:
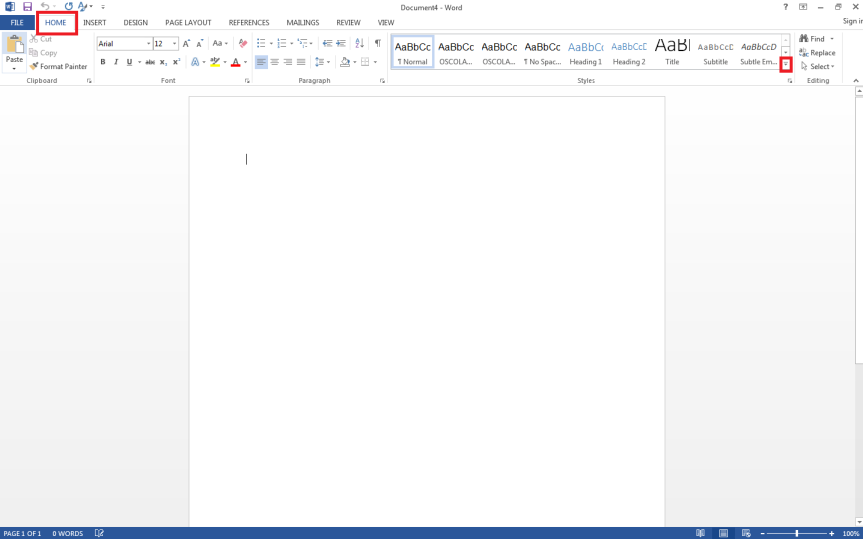

This will bring up a text box. Select ‘Modify’:

This will then bring up a number of options for creating your own style of text formats. Firstly, choose a name you will remember, eg ‘OSCOLA quotes’. Under ‘Formatting’, you will then see that there is an option ‘Format’ which brings up a drop down menu:

Select ‘Paragraph’ and under ‘Indentations’ change this to the margins you wish to use for your OSCOLA quotes:

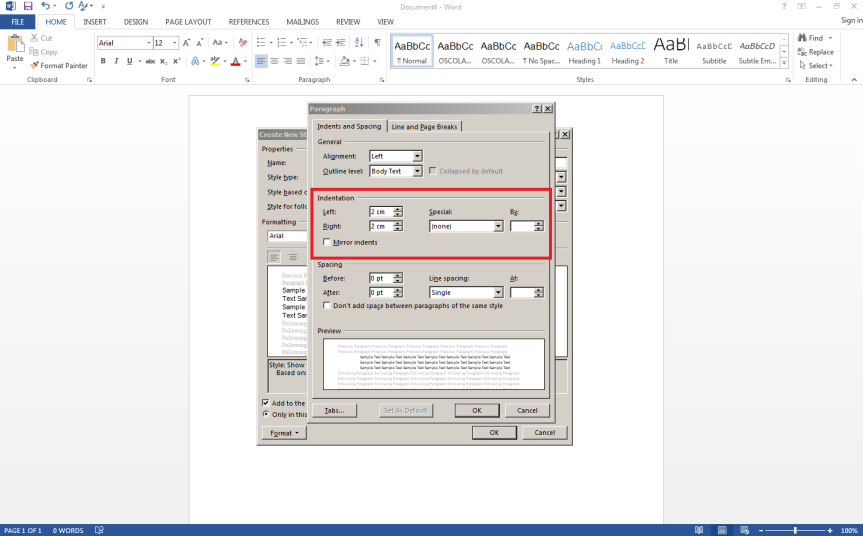
Select ‘New documents based on this template’ and then click ‘OK’:

- Contents and Indexing
The other feature which you may find it useful to know, particularly for longer pieces of research, is how to create an index or contents page. Word does have tools which will allow you to do both automatically. Huge detail won’t be provided here as these are unlikely to be useful to you at LLM level, but you should be aware of these for future academic work.
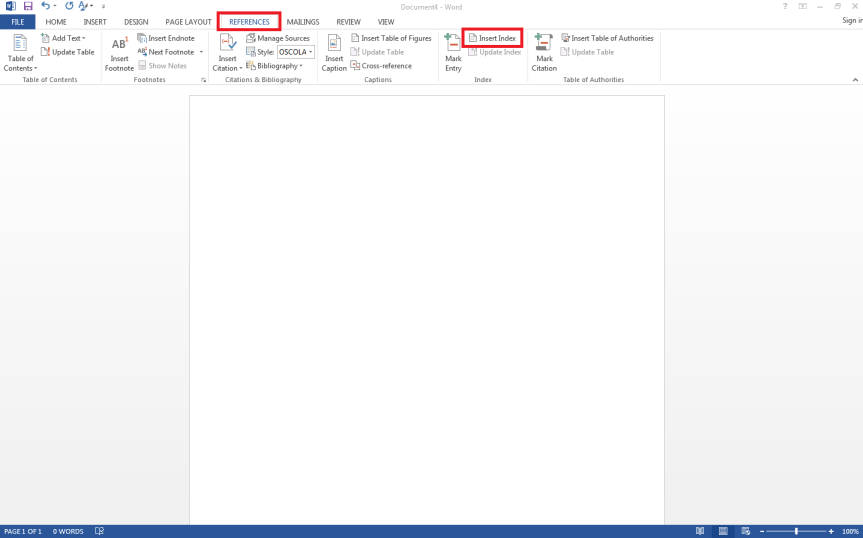
To create an index, go to ‘References’ then ‘Insert Index’:
For a full guide on how to use this feature, you can use the Microsoft support page.
Under ‘References’ you will also find ‘Table of Contents’:
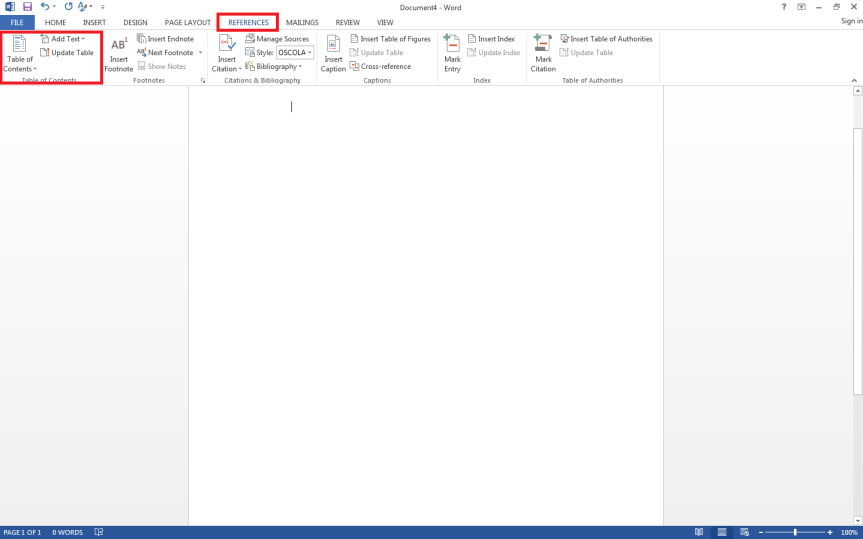
Again, there is a Microsoft support page where you will find full details of how to use this feature.
You will quickly find, as you begin to research and use references, the most common features that you need to use in Word. There are full guides available online for all of Word’s features, so it is always worth Googling if you have a problem, but it is also worth familiarising yourself with this before the pressures of coursework begin.
[1] Like this!
[2] Example taken from the full OSCOLA guide
[3] Full OSCOLA guide, 8
[4] Full OSCOLA guide, 8

2 thoughts on “Using Microsoft Word – Referencing”